Codex Installation Tutorial for China: CLI Usage Guide
The GPT-5-Codex update OpenAI released recently quickly made this powerful AI coding tool go viral. More and more developers, programmers, and AI enthusiasts are exploring Codex's potential — especially how to install and use Codex CLI stably in a China network environment, which has become a hot topic. As an experienced AI tool user, I've received many inquiries: How do I install Codex in China? How do I set Codex CLI to reply in Chinese? Today, I'll share a comprehensive Codex installation tutorial for China and a Codex usage guide, covering everything from beginner to advanced tips to help you get started quickly. Whether you're a Mac user, a Linux enthusiast, or a Windows developer, this article has practical advice for you.
This article is about 2,000 words, based on the latest version as of September 2025 and written from real test experience. After reading it, you'll master the Codex CLI installation steps, Chinese reply configuration, and common troubleshooting. If you're new to AI programming, don't worry — we'll take it step by step.
1. What is Codex? Why Should Developers in China Choose It?
In the era of AI programming, Codex, as OpenAI's flagship product, is leading a revolution. It's not just a code generator — it's an intelligent coding agent that handles complex tasks such as automated debugging, code refactoring, and multi-file collaboration. Codex's core strength lies in its powerful GPT-5-based capabilities: the latest GPT-5-Codex version can run independently on large, complex tasks for more than 7 hours, far surpassing traditional tools.
Codex comes in two main forms:
- Cloud-based Codex Web: accessed directly through the ChatGPT web page, ideal for quick testing.
- Local Codex CLI: a terminal command-line tool supporting macOS and Linux (Windows via WSL), letting you read, modify, and run code locally.
Compared with other AI coding tools, Codex stands out. If you're familiar with Cursor, you know it's an excellent AI IDE editor; but if you prefer the command line, Codex CLI is similar to Claude Code or Gemini CLI — yet more stable. Why not choose Claude Code? Claude has recently shown frequent "intelligence downgrades" and is prone to account bans, with many users relying on mirror sites. Codex, on the other hand, is based on a ChatGPT Plus subscription, has a low ban risk, and a friendly price tag (around $20/month), which users in China can easily obtain through a proxy.
In China, Codex's popularity comes from its Chinese support and low barrier to entry. Whether you're building web apps, data analysis scripts, or game logic, Codex can accelerate your development workflow. Next, let's dive into the Codex installation tutorial.
(No images to include.)
2. Codex Installation Guide for China: CLI and Web Versions Explained
Installing Codex is simple and efficient — you can use it directly in the ChatGPT web page, or deploy the CLI version locally. Users in China should pay attention to the network environment: we recommend a stable proxy tool to avoid access restrictions. Here are the Codex CLI installation steps for China, prioritizing macOS and Linux.
2.1 Codex CLI Terminal Installation: For Mac and Linux Users
Codex CLI is the core of the coding agent, letting you summon an AI assistant in your local terminal. It currently supports macOS and Linux; Windows support is experimental, and WSL is recommended. Installing directly on Windows may cause garbled text or compatibility issues, wasting your time.
Codex CLI offers two installation methods: npm installation (requires a Node.js environment) and Homebrew installation. Pick one — I personally use npm because I already have Node.js.
(1) npm method: Install the Node.js environment first
Ubuntu/Debian Linux users: Run the following commands to install Node.js 22.x in one shot (recommended for 2025):
curl -fsSL https://deb.nodesource.com/setup_22.x | sudo bash -
sudo apt-get install -y nodejs
node --version
npm --versionAfter verifying the version, install Codex CLI:
npm install -g @openai/codexmacOS users: First install Xcode and Homebrew (if not already installed):
sudo xcode-select --install
/bin/bash -c "$(curl -fsSL https://raw.githubusercontent.com/Homebrew/install/HEAD/install.sh)"
brew install node
node --versionThen install the CLI:
npm install -g @openai/codex(2) Homebrew method (macOS only):
brew install codexAfter installation, create a project directory, cd into it in the terminal, and run codex to summon it. On first use, you'll need to sign in with your ChatGPT Plus account (see section 3.3).
Installation tip: when downloading npm packages in China, if the network is slow, you can switch to the Taobao mirror: npm config set registry https://registry.npmmirror.com. The whole process takes 5–10 minutes.
2.2 Cloud-based Codex Web: Zero-Installation Quick Start
Don't want to install locally? Just sign in at chat.openai.com and select the GPT-5-Codex model. Type a prompt like "write a web crawler in Python" and it will generate code. Perfect for beginners testing Codex Chinese replies.
3. Codex CLI Usage Explained: From Basic to Advanced Tips
After installation, how do you use Codex CLI efficiently? Below I'll share a Codex CLI usage tutorial, including setting Chinese replies, model switching, and authorized sign-in. Based on my real experience, these tips can help you avoid 80% of common pitfalls.
3.1 How to Set Codex CLI to Reply in Chinese: A Permanent Configuration Guide
By default, Codex replies in English, but users in China prefer Chinese. Temporary commands like "reply in Simplified Chinese" work but reset after a restart. We recommend using the Codex memory file AGENTS.md for a permanent setting.
Global setup steps:
- In the terminal, run:
mkdir -p ~/.codex && printf 'Always respond in Chinese-simplified\n' > ~/.codex/AGENTS.md - Restart the terminal, run
codex, and type a query like "explain this Python function" — Codex will always reply in Simplified Chinese.
Workspace setup: if you only want to apply it to the current project, run /init to generate AGENTS.md, then edit it to add "Always respond in Chinese-simplified."
This configuration improves Codex Chinese support and makes AI programming more friendly. Test it: ask "how to optimize an SQL query?" — the reply will be entirely in Chinese.
3.2 Model Switching and Viewing: Prioritize GPT-5-Codex
Codex supports multiple models; we recommend GPT-5-Codex (high) for complex tasks. To view/switch models:
/modelIt outputs the current model list. Select one, e.g., /model gpt-5-codex-high. This feature helps optimize performance. Users in China should note compute load peaks (evening peak hours) and switch to lower-tier models to avoid bans.
3.3 Local Authorized Sign-In: Enable Global Proxy to Avoid Bans
The first time you run codex, you'll need to sign in to your OpenAI account. In a China network environment, we recommend enabling your proxy's global Tun mode to simulate an overseas IP and reduce detection risk. As OpenAI's load rises, misuse can easily lead to bans; this mode acts like an "invisibility cloak" to protect you.
Sign-in steps:
- Run
codex login, and the browser will jump to the OpenAI authorization page. - Enter your ChatGPT Plus credentials to complete OAuth.
- Test it:
codex "hello world in JS".
Recommended proxy tools: Clash or V2Ray, set to global mode. The image below shows the Tun mode interface:

4. Who Is Codex CLI For, and Subscription Requirements
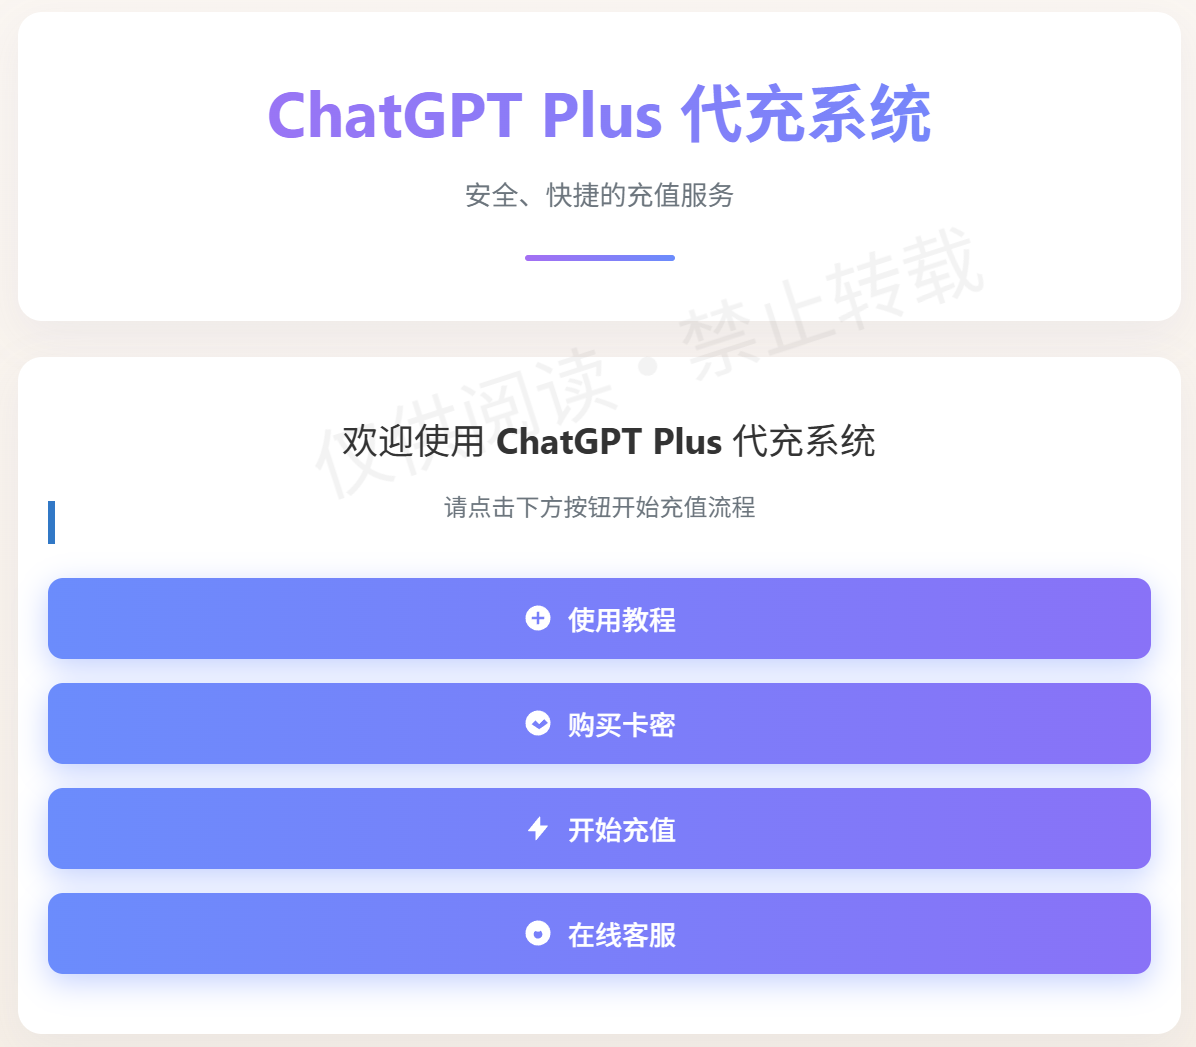
Codex CLI is limited to ChatGPT Plus subscribers (or higher). Free accounts have no access. How to upgrade to GPT Plus? A one-click subscription in China is super convenient:
GPT one-click upgrade: https://gptpluszh.com/
Click the link and complete payment and activation in 2 minutes. The official tutorial is thorough, so beginners have no stress. After subscribing, you get unlimited Codex queries, with monthly fees as low as $20 — outstanding value.
The image below shows the upgrade interface:
Who is Codex for? Programmers, data scientists, and beginners. Compared with paid IDEs, Codex CLI is free and open source, and becomes even more powerful combined with VS Code plugins (such as the OpenAI extension).
5. For Windows Users: Installing Codex CLI via WSL
Native Windows support is experimental and prone to garbled text. We recommend WSL (Windows Subsystem for Linux) to emulate a Linux environment for stable Codex CLI operation.
5.1 WSL Installation Prerequisites and Steps
System requirements:
- Windows 10 21H2+ or Windows 11, Pro/Enterprise editions (Home edition doesn't support Hyper-V).
- Virtualization enabled in the CPU (check in BIOS).
Enable the features:
- Control Panel > Programs and Features > Turn Windows features on or off.
- Check "Virtual Machine Platform" and "Windows Subsystem for Linux."
Download the WSL installer (recommend 2025 version 2.5.9.0):
- 64-Bit:
https://vip.123pan.cn/1831946356/links/wsl.2.5.9.0.x64.msi - ARM64:
https://vip.123pan.cn/1831946356/links/wsl.2.5.9.0.arm64.msi - ARM64 Microsoft Store:
https://vip.123pan.cn/1831946356/links/Microsoft.WSL_2.5.9.0_x64_ARM64.msixbundle
Or get the latest from GitHub: https://github.com/microsoft/WSL/releases
Install Ubuntu: Run:
wsl --install -d Ubuntu-24.04Network issues? Enable a proxy or edit hosts (GitHub IP: e.g., 140.82.112.3). To view distributions: wsl -l -o.
First login: Type wsl in the terminal and set a username/password. To avoid the root user: first open Ubuntu once from the Start menu, close it without setting a password, and use a regular user next time.
5.2 Deploying Codex CLI in WSL
Enter WSL: wsl (or PowerShell).
The installation steps are the same as for Linux (section 2.1): install Node.js + npm install Codex CLI. Run codex and use it seamlessly.
Performance optimization: allocating 4GB RAM to WSL 2 is enough — Codex CLI is lightweight and runs smoothly. Common issues: if a command hangs, check your proxy; update WSL with: wsl --update.