OpenAI Codex Usage Tutorial in China: From Payment and Installation to CLI Hands-On — A Complete Guide
1. First Things First: Why Now Is the Best Time to Return to Codex
Recently, OpenAI's coding marvel Codex has once again ignited the tech community. Although account and network issues remain a small hurdle for users in China, this upgrade is just too good to resist — you can't help but want to explore it.
Six months ago, my main AI coding tool was still Cursor; three months ago, I switched to Claude Code. However, the recent "intelligence downgrade" drama and unstable service pushed me to look for a more reliable alternative.
Coincidentally, last month OpenAI dropped a bombshell: ChatGPT Plus users no longer need to configure an API Key — they can sign in directly and use Codex CLI!
This change dramatically lowered the barrier to entry. Combined with the fact that everyone online was praising the new Codex's "quantum leap in code generation capability," I reinstalled Codex CLI with a "let me try it" attitude. The result? Once I started using it, I could never go back.
This tutorial is my "pitfalls & hands-on record" prepared for you, hoping to help everyone new to Codex get started quickly.
Friendly reminder: Codex is currently a paid service. If you're still a free-tier user, consider using this one-click upgrade tool — it's very convenient: ChatGPT upgrade service in China: gptpluszh.com
If you don't have an account yet, you can register directly with any email address.
2. Which Users Can Use Codex Directly?
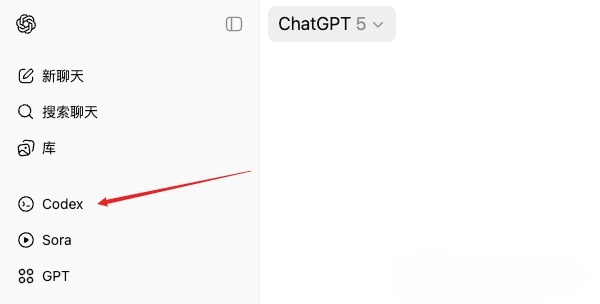
Currently, Codex access is open to all paid members, including ChatGPT Plus, Pro, and Business. As long as you're one of them, you can use Codex seamlessly in three ways:
- Codex Web
- IDE extensions (VSCode, Cursor, etc.)
- Codex CLI (terminal command-line tool)
The new-generation GPT-5-Codex model is deeply optimized for CLI, IDE plugins, and cloud environments, designed to deliver an ultimate coding experience.
3. Codex CLI Quick Installation Guide
3.1. Install Codex CLI via NPM
If your computer already has a NodeJS environment set up, installing Codex CLI takes just a few commands.
Steps:
# 1. Make sure your Node.js version is no lower than 22
node -v
# Example output: v22.21.10

# 2. Globally install Codex CLI via NPM
npm i -g @openai/codex

# 3. Verify the installation
codex --version
# Example output: 0.42.0Network acceleration for China:
If NPM installation is too slow, you can use a domestic mirror source to speed things up:
npm i -g @openai/codex --registry=https://registry.npmmirror.com3.2. Install the Codex Plugin in Your IDE
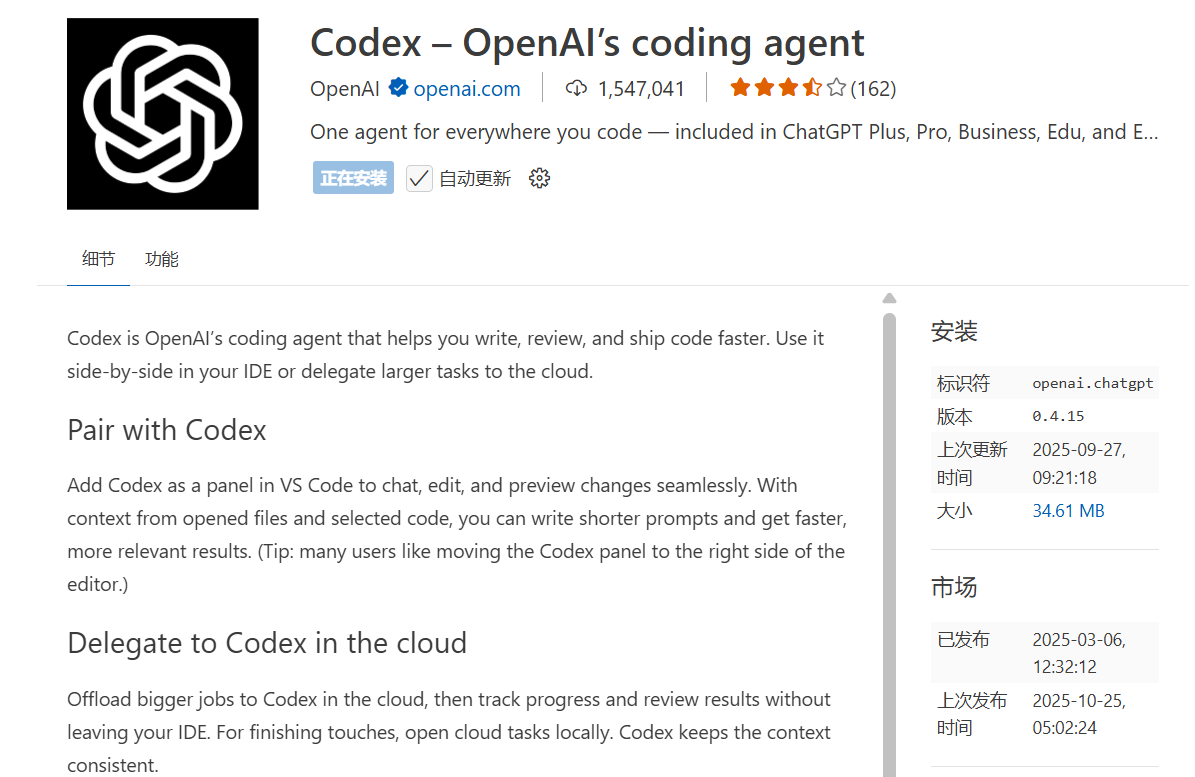
If you're not comfortable with the command line, you can install the plugin version of Codex directly from your IDE's app store — it offers a friendlier graphical user interface (GUI). Currently, mainstream IDEs such as VSCode and Cursor all support it.
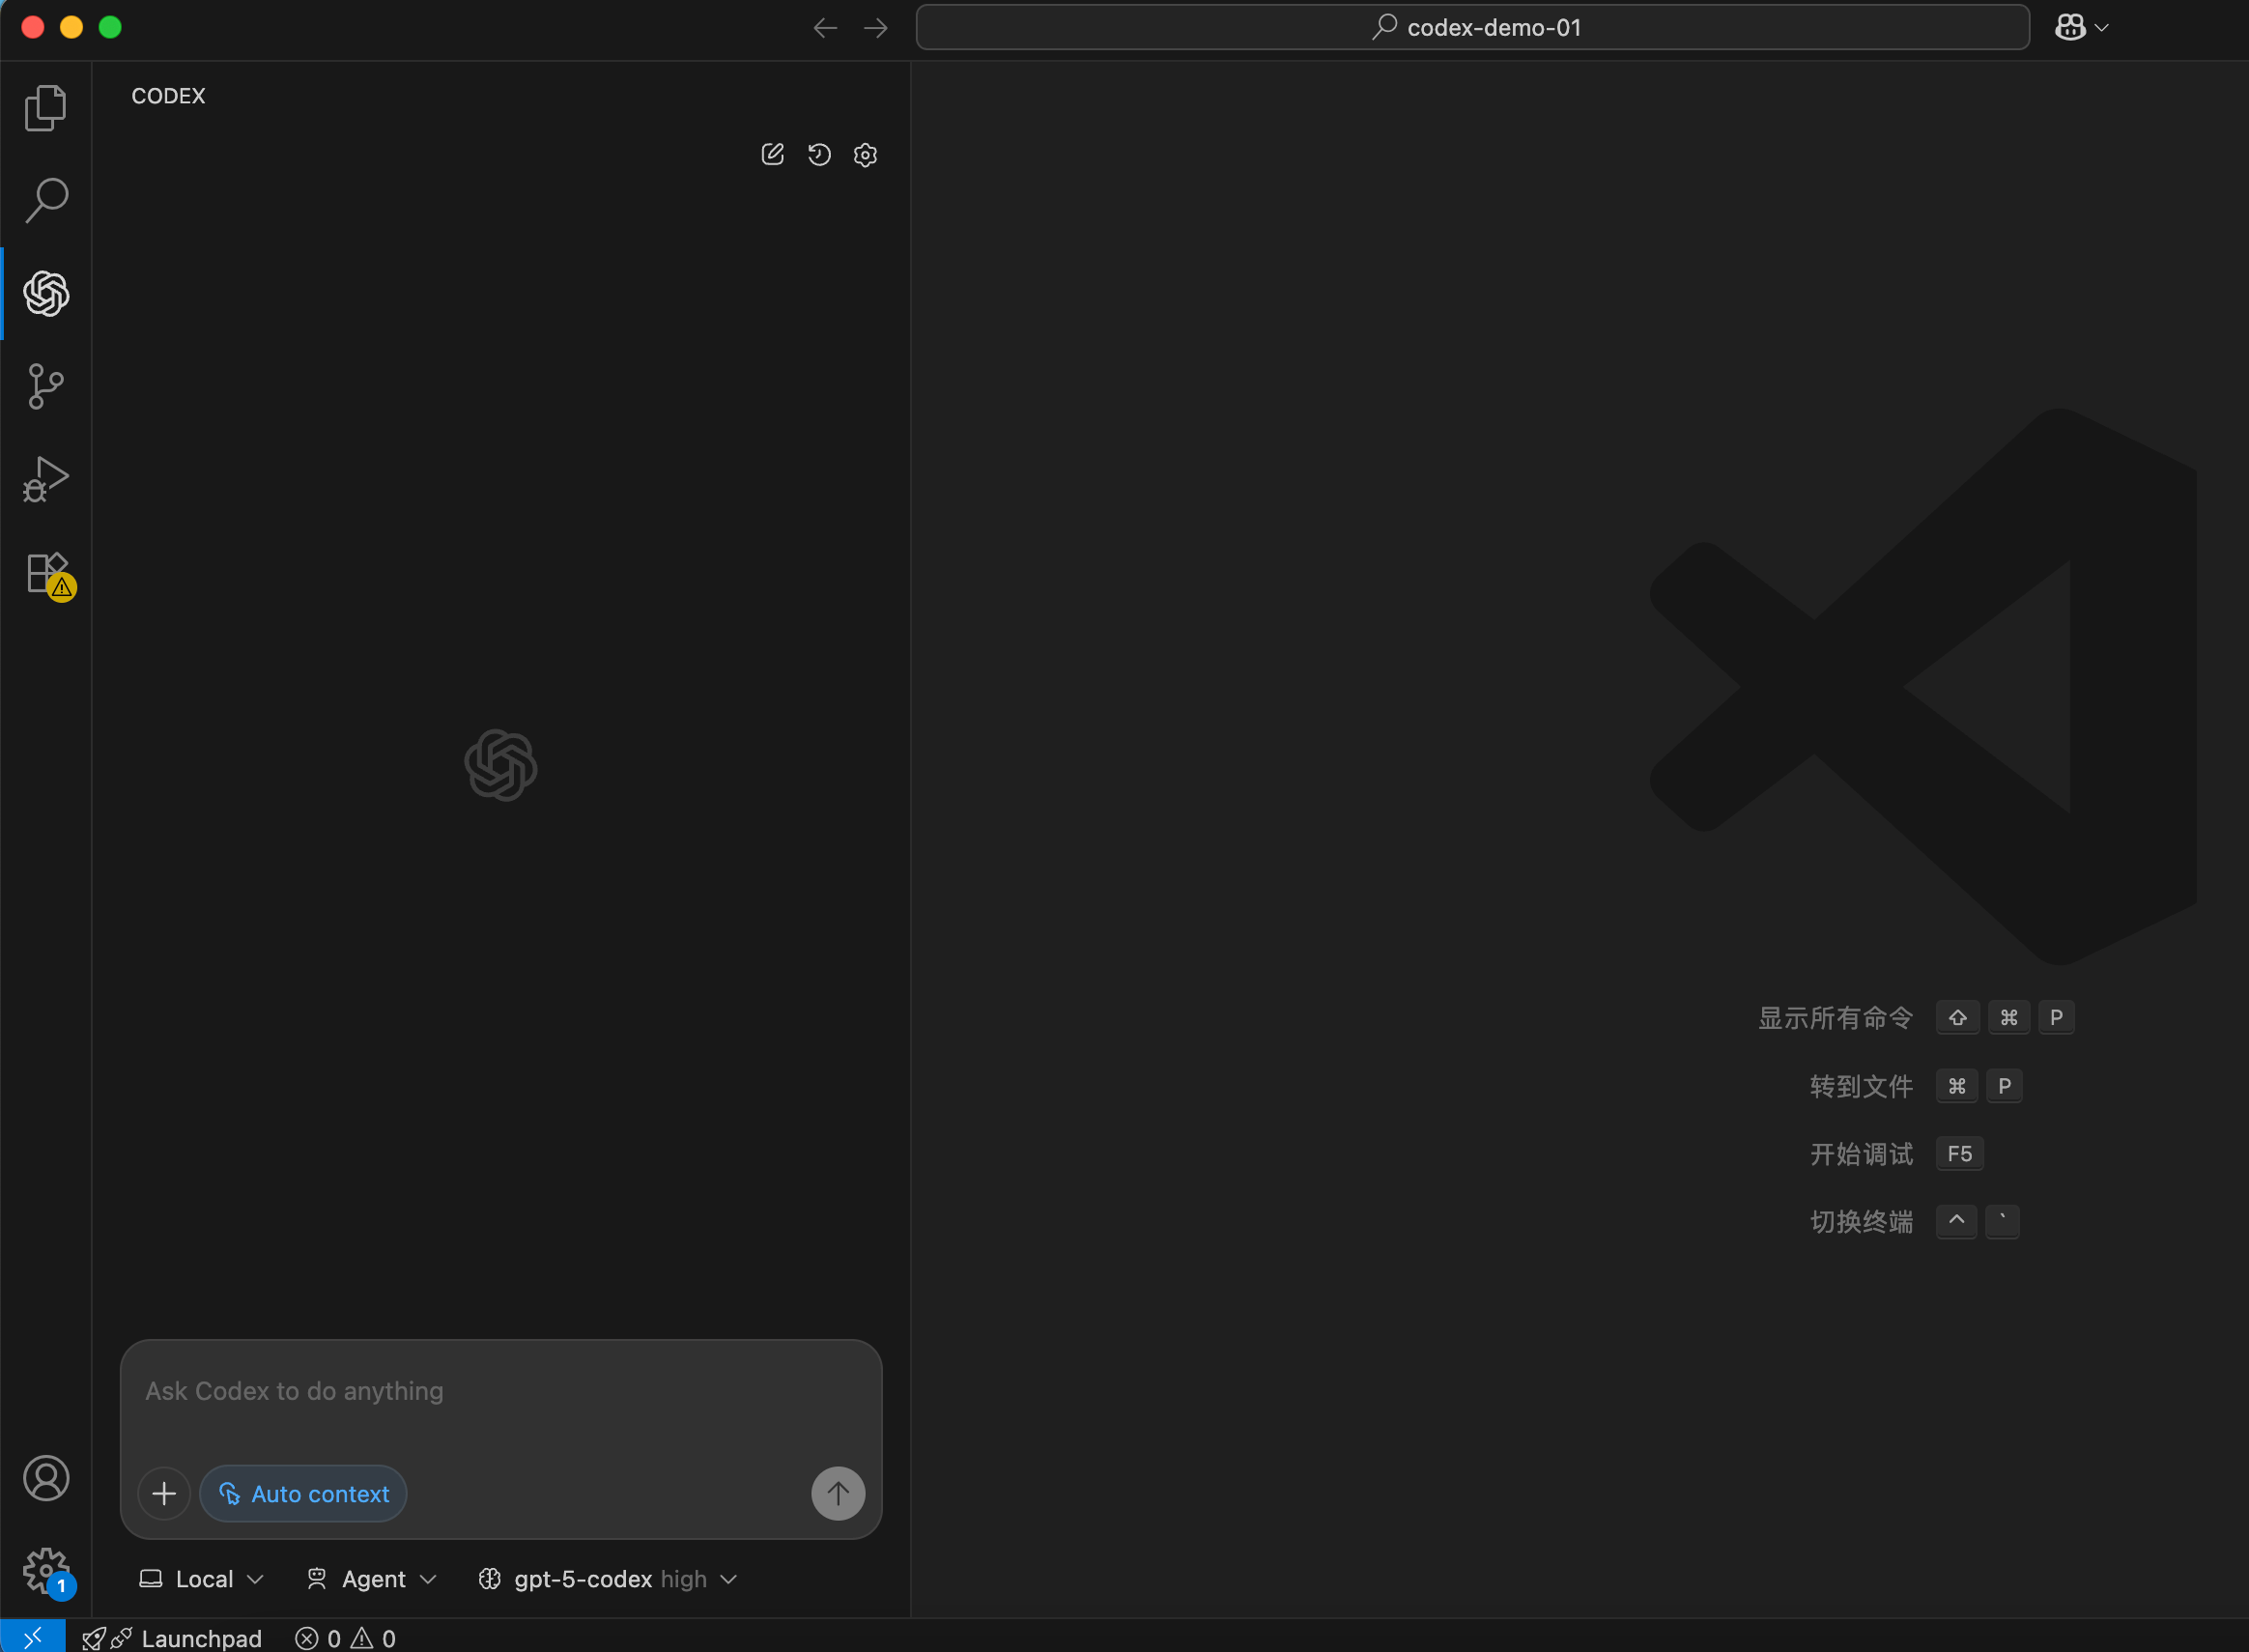
After installation, you can directly describe your needs in the input box, such as "refactor this file" or "add a new feature." You can also easily switch models — I personally recommend always using the most powerful GPT-5-Codex (high).
For beginners, the IDE plugin is undoubtedly the simplest and most intuitive way to experience Codex.
4. One-Click Sign-In: Start Your Codex Journey
After installation, run the following command in the terminal to launch it:
codexOn first run, it automatically opens your browser and guides you through authorization.
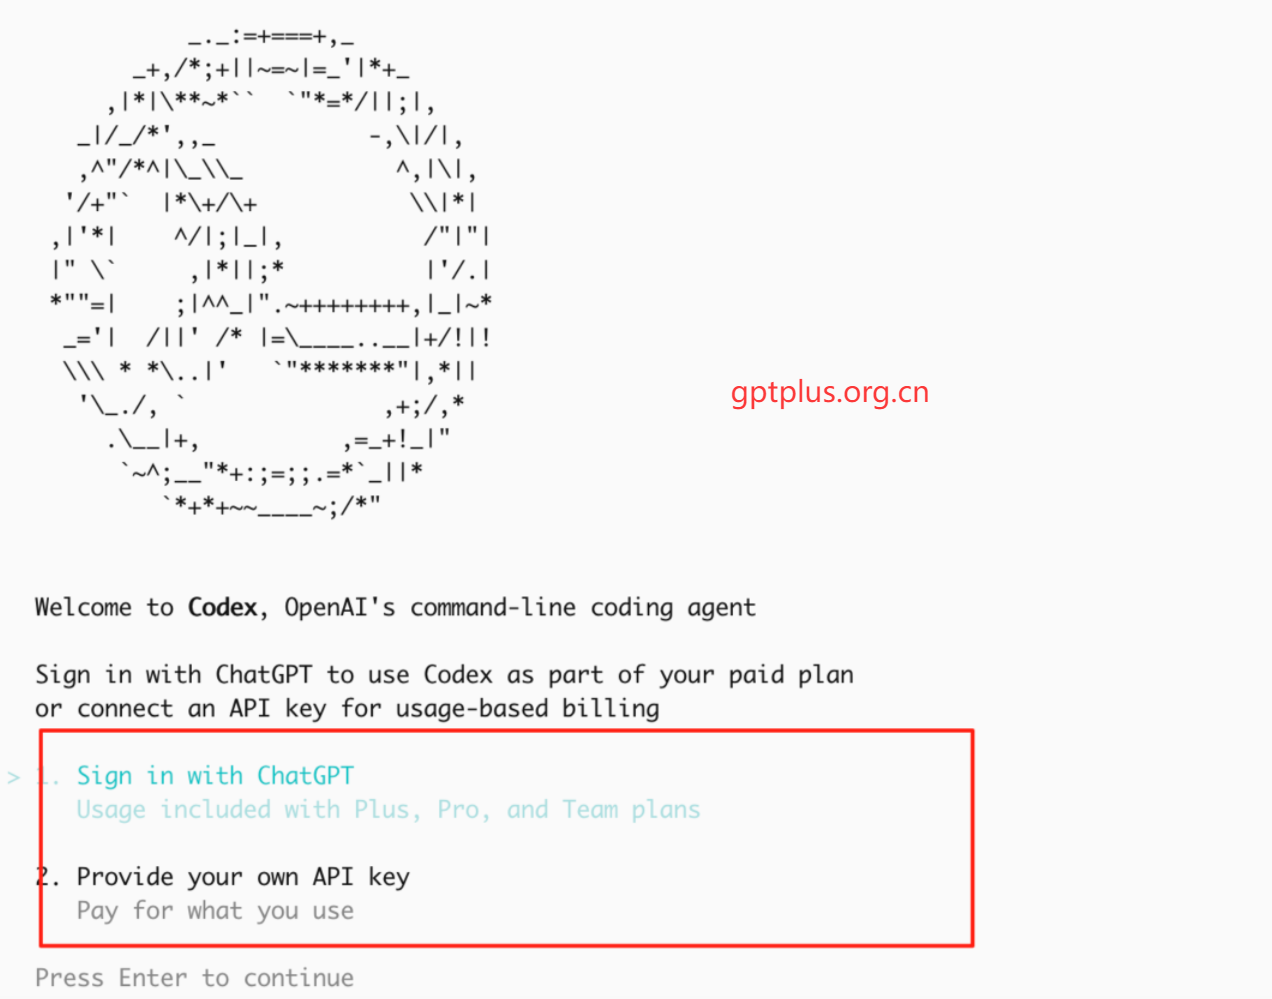
Select the first option, Sign in with ChatGPT, and authorize with your paid ChatGPT account. On success, the page automatically writes the authorization token into the local ~/.codex/token file — no manual copy-pasting of any KEY, very convenient!
What if the sign-in callback fails?
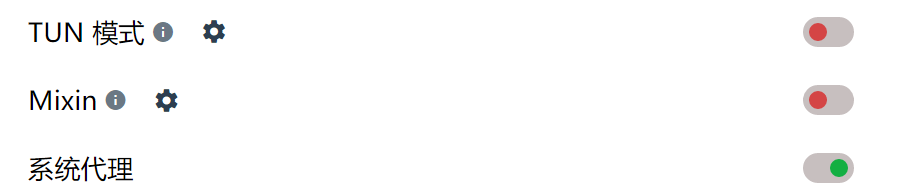
If you encounter a callback failure or network error after authorization, it's usually a network proxy issue. Please enable your proxy tool's global mode (TUN Mode) so terminal traffic can access OpenAI normally.
After enabling it, return to the terminal and run the codex command again to re-authorize.
5. Codex CLI Core Commands & Practical Tips
5.1. How to Make Codex Reply in Chinese?
This is a very practical configuration. With just one simple command, you can make Codex communicate with you in Simplified Chinese by default.
Run the following command in your terminal (Mac/Linux):
mkdir -p ~/.codex && printf 'Always respond in Chinese-simplified\n' > ~/.codex/AGENTS.mdThis command creates an AGENTS.md file under ~/.codex/ and writes the content "Always respond in Chinese-simplified," making the setting permanent.
5.2. Common Commands & Scenario Examples
| Scenario | Command Example | Experience |
|---|---|---|
| 1. Generate code directly | codex "write a Python script to download a file" | Produces high-quality, runnable code in about 3 seconds, with no extra explanation. |
| 2. Interactive conversation | codex enters interactive mode, then >> change the script above to concurrent | Supports Tab completion and Ctrl-R history search — a zsh-like experience. |
| 3. Read an image to debug | codex -i error.png "analyze and fix the errors in the image" | Can read error screenshots directly from the terminal or IDE, saving you from manually copy-pasting error messages. |
| 4. Refactor an entire project | codex "add context passing to the entire Go project" | Automatically analyzes the project -> generates a refactoring plan -> produces diff code in chunks for your review -> applies it in one click after confirmation. |
| 5. Automated testing | codex exec "run pytest for the current project" | Automatically installs missing dependencies -> runs tests -> on failure, can auto-revert to the last successful commit. |
6. Codex vs. Claude Code: An In-Depth Comparison
| Dimension | Codex (GPT-5) | Claude Code (Opus 4.1) |
|---|---|---|
| Sign-in barrier | Very low: one-click sign-in for ChatGPT Plus/Business users, no API Key needed. | Relatively high: requires a region-specific account + phone verification, with demanding network requirements. |
| Response speed | Fast: average 1.2 seconds to first token, nearly instant, crisp code generation. | Medium: about 2.5 seconds; tends to analyze and summarize before giving code, slightly drawn out. |
| Context capability | Strong: field-tested to stably handle 200k+ tokens, accurately understanding medium-to-large codebases. | High in theory: supports up to 1M, but easily loses focus in complex multi-file projects. |
| Engineering capability | Excellent: strictly generates files by directory structure, clear diff approval workflow, strong engineering awareness. | Decent: occasionally "over-optimizes," merging multiple files into one output and breaking the original structure. |
| Ecosystem & experience | Professional: built-in task panel, mature Hooks community ecosystem, clean UI focused on functionality. | Complex: many feature-command systems, a learning curve for beginners. |
| Pricing strategy | Great value: tied to Plus/Business membership, ample quota (about 40 deep interactions per 3 hours). | Tiered pricing: ranging from $20 to $200, with some instability risk. |
| Privacy model | Cloud sandbox: code executes in a secure cloud sandbox, no history retained. | Local execution: more private, but heavily dependent on local machine performance and environment config. |
Money-saving tip: activating a Business membership is currently a high-value option. Using the self-service tool below, I activated one for just a few dozen yuan. Business's Codex quota is exactly the same as Plus, but the price is significantly lower.
Self-service ChatGPT upgrade tool for China: gptpluszh.com
7. Common Codex Errors & Solutions
7.1. Error: 401 Unauthorized
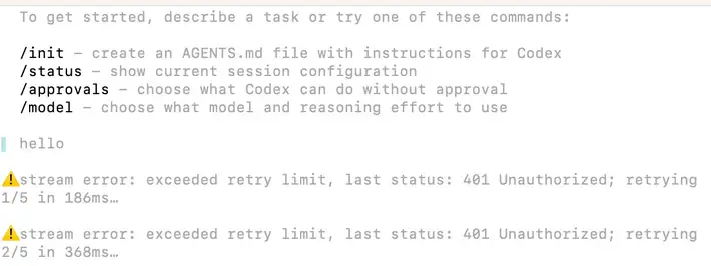
This error means your authorization has expired or your membership has lapsed.
Solution: In Codex interactive mode, type /logout to sign out, then run the codex command again and complete the web authorization once more.
7.2. Error: 502 stream error or Connection Failure
These issues are almost always network-related.
Solution:
- First choice: enable your proxy tool's global routing mode (TUN Mode).
- Alternative: if your proxy tool supports it, enable "system proxy," then manually specify the proxy server in the terminal:bash(Replace port
export HTTPS_PROXY=http://127.0.0.1:7890 export HTTP_PROXY=http://127.0.0.1:7890 export ALL_PROXY=socks5://127.0.0.1:78907890with your proxy tool's actual port.)
Finally, happy Vibe coding, everyone! Enjoy the rhythm of coding instead of being weighed down by it.